DIY Backyard Chicken Run Setup
Highlighted under: Family Comforts
I’ve always wanted to raise chickens in my backyard, but I needed a safe and spacious environment for them to thrive. Creating a DIY chicken run was the perfect solution. By designing a secure space with plenty of room to roam, I not only enhanced their quality of life but also made it easier for me to care for them. This step-by-step guide will show you how I set it up, ensuring it meets the needs of my feathered friends while being simple enough for any backyard enthusiast to replicate.
Building my backyard chicken run was not just a project; it was a labor of love. I started by researching the best materials to ensure it was sturdy and safe from predators. After gathering all necessary supplies, I set out to create a space that would allow my chickens to roam freely while keeping them protected. I found that using chicken wire and wooden posts provided the perfect combination of security and durability.
Throughout the process, I learned some valuable tips. For instance, ensuring proper ventilation was crucial for keeping the chickens comfortable, especially during warmer months. Installing a hinged door made it easy to access the coop for feedings and cleaning. And don’t forget to add perches and nesting boxes to enhance their living space!
Why You'll Love This Setup
- Provides your chickens with a safe and spacious environment
- Easy to customize based on your yard space and chicken breed
- Encourages natural behaviors like foraging and pecking
- Cost-effective alternative to pre-made chicken runs
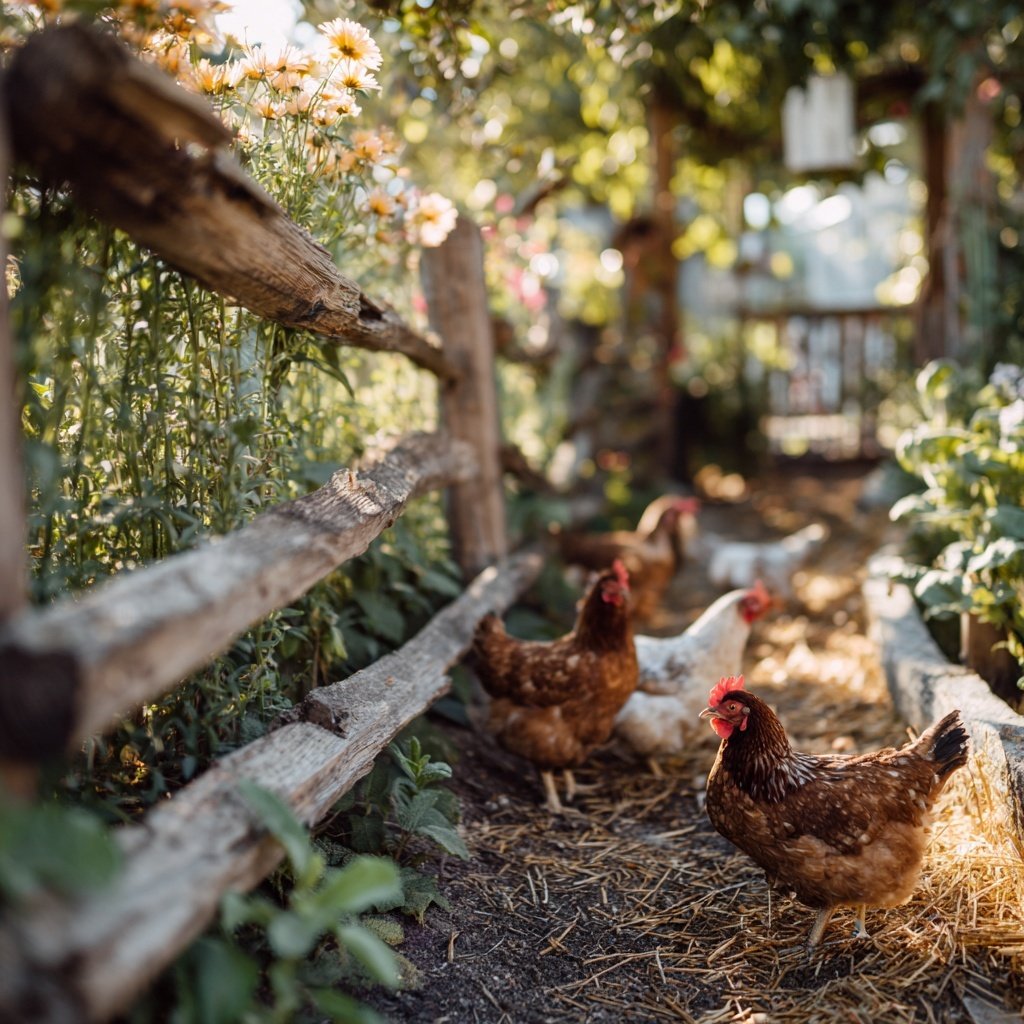
Choosing the Right Location
Selecting the perfect location for your chicken run is crucial for your birds' health and happiness. Ideally, choose a spot with partial shade to keep your chickens cool during the hot summer months. Place the run near your home for easy access, but also ensure it’s away from any potential predators. I recommend checking the area for overhead trees, as falling branches can be dangerous.
Make sure the ground is well-drained to avoid puddling, which can lead to muddy conditions. If your yard has uneven terrain, consider leveling the ground before setting up the run. This preparation time will pay off in providing a cleaner and safer environment for your chickens.
Construction Tips
When securing your wooden posts, ensure they are at least 2 feet deep in the ground to withstand strong winds and potential burrowing predators. I found that using a level tool was essential to keep the posts vertical before setting them with concrete mix. Once the posts are dried, the structure will be much sturdier.
While attaching the chicken wire, it's important to overlap the edges by at least a foot to prevent any gaps. Use heavy-duty staples to fasten the wire, as lightweight ones may not hold under tension. I learned the hard way that loose wire can be an invitation for mischievous raccoons!
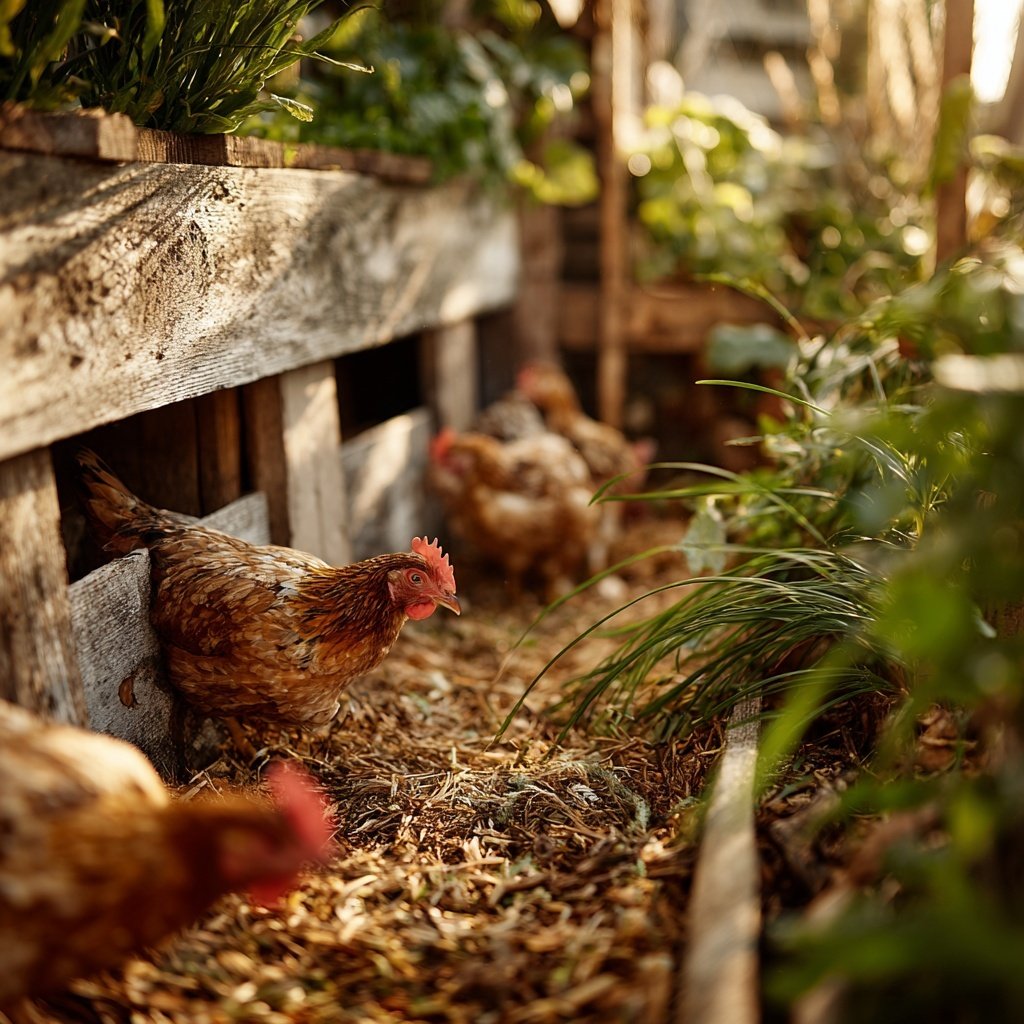
Enhancing the Chicken Run
To further enrich your chickens' environment, consider integrating plants or shrubs that are safe for them to peck at. Herbs, such as basil and parsley, not only give your run a pleasant aroma but also provide nutrition. Just monitor for any plants that seem to attract pests, as they can encourages undesirable visitors.
Adding a dust bath area is a simple yet effective feature to promote your chickens' cleanliness. Use a shallow container filled with sand or fine dirt where they can roll around and remove any pests from their feathers. It's a joy to watch them indulge in this natural behavior!
Ingredients
Materials Needed:
Materials
- Chicken wire (about 100 feet)
- Wooden posts (4x4 inches)
- Hinges for the door
- Screws and nails
- Wire cutters
- Wood saw
- L-brackets for support
- Nesting boxes and perches
Instructions
Steps to Build Your Chicken Run:
Plan the Layout
Decide on the location and dimensions of your chicken run. Make sure it’s positioned in a way that receives sunlight and is protected from extreme weather.
Gather Materials
Collect all necessary materials based on your planned design. Having everything ready makes the build process smoother.
Set the Posts
Dig holes for the wooden posts and securely place them into the ground. Ensure they’re straight and stable, as these will support the entire structure.
Attach the Chicken Wire
Wrap the chicken wire around the posts, making sure it’s taut and securely fastened. Use staples or screws to attach it to the posts.
Build the Door
Create a door using wooden frames and attach it with hinges. Ensure it opens easily and closes securely.
Add the Nesting Boxes and Perches
Install nesting boxes at a comfortable height and place perches within the run for the chickens to rest and roost.
Pro Tips
- Make sure to regularly check the integrity of the chicken wire and any hinges throughout the year to maintain a safe environment for your chickens.
Maintenance of Your Chicken Run
Regular maintenance of your chicken run is essential for the health of your flock. Aim to clean the run weekly by removing any droppings and old bedding. This not only keeps the area sanitary but also reduces odors and pests. I use a rake and shovel, which works great for making the process quick and efficient.
Additionally, consider rotating your run by moving it to a new spot every few months. This helps prevent overgrazing in one area and allows the ground to rest and rejuvenate. Just be cautious to avoid creating mud patches in wetter seasons.
Winterizing Your Setup
As temperatures drop, it’s important to make necessary adjustments to your chicken run for winter survival. Inspect your structure for any drafts and gaps; sealing these will help keep your chickens warm. Add extra bedding, such as straw or hay, to insulate the floor and provide comfort during cold nights.
Don’t forget to provide a heated water source, as regular waterers can freeze, making it difficult for chickens to stay hydrated. In my experience, using a heated poultry waterer is a game-changer during those chilly months!
Legal Considerations and Best Practices
Before finalizing your chicken run setup, it's a good idea to check with local regulations regarding backyard chickens. Some areas require permits or have restrictions on the number of birds you can keep. Ensuring you’re compliant will save you from potential issues down the line.
Additionally, consider adopting best practices for keeping your chickens and your community happy. Building your run with an attractive design and maintaining cleanliness contributes to a positive relationship with neighbors. I always make sure to keep the area tidy and limit noise from my flock!
Questions About Recipes
→ How large should a chicken run be?
A good rule of thumb is 10 square feet per chicken.
→ Can I use recycled materials?
Absolutely! Just make sure they are safe and sturdy enough for your chickens.
→ How often should I clean the chicken run?
It's best to clean it at least once a week to maintain hygiene.
→ What should I do if a predator gets in?
Inspect the area for possible breaches, reinforce weak spots, and ensure the run is secure.
DIY Backyard Chicken Run Setup
What You'll Need
Materials
- Chicken wire (about 100 feet)
- Wooden posts (4x4 inches)
- Hinges for the door
- Screws and nails
- Wire cutters
- Wood saw
- L-brackets for support
- Nesting boxes and perches
How-To Steps
Decide on the location and dimensions of your chicken run. Make sure it’s positioned in a way that receives sunlight and is protected from extreme weather.
Collect all necessary materials based on your planned design. Having everything ready makes the build process smoother.
Dig holes for the wooden posts and securely place them into the ground. Ensure they’re straight and stable, as these will support the entire structure.
Wrap the chicken wire around the posts, making sure it’s taut and securely fastened. Use staples or screws to attach it to the posts.
Create a door using wooden frames and attach it with hinges. Ensure it opens easily and closes securely.
Install nesting boxes at a comfortable height and place perches within the run for the chickens to rest and roost.
Extra Tips
- Make sure to regularly check the integrity of the chicken wire and any hinges throughout the year to maintain a safe environment for your chickens.
Nutritional Breakdown (Per Serving)
- Calories: 0 kcal
- Total Fat: 0g
- Saturated Fat: 0g
- Cholesterol: 0mg
- Sodium: 0mg
- Total Carbohydrates: 0g
- Dietary Fiber: 0g
- Sugars: 0g
- Protein: 0g